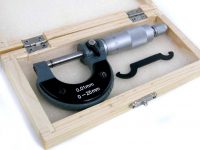
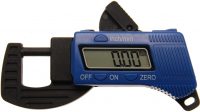
Technical data
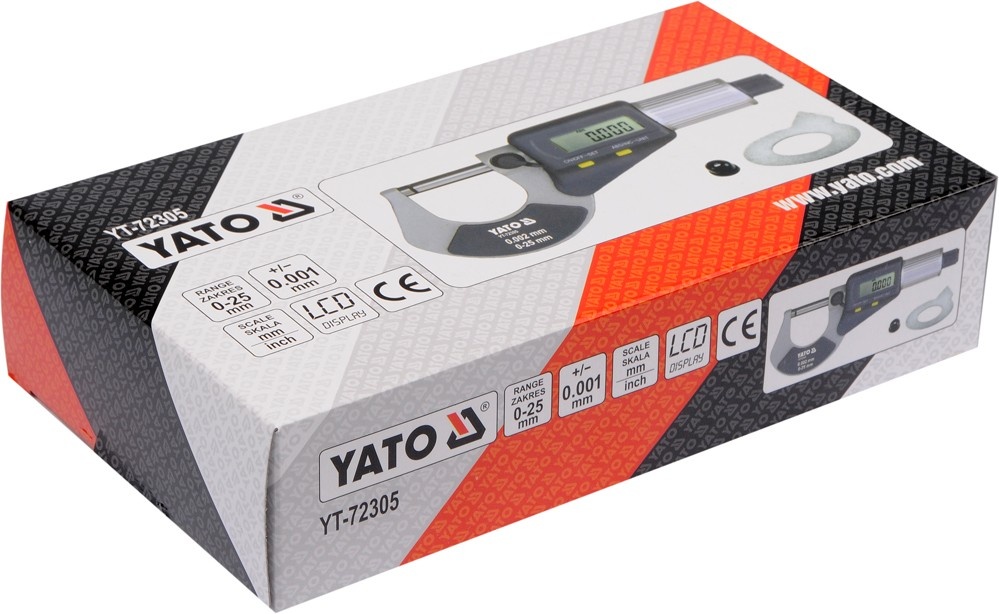
Measuring range: 0 – 25 mm
Resolution: 0.001 mm / 0.00005 inches
Accuracy: ± 0.002 mm / ± 0.0001 in
Measuring force: 5 – 10 N
Display: liquid crystal display LCD
Current consumption: ≤ 35 μA
Power supply: one 1.55V silver battery, type SR44
Working temperature: 5OC – 40OC / 41OF – 104OF
Storage temperature: -20OC ÷ 60OC / -4OF ÷ 140OC
Effect of humidity: no matter less than 80% relative humidity
Destination / Application
For precise measurements and easy readings from 0 to 25 mm.
How to use
Preparing for work:
– Clean the measuring surfaces and guide. For this purpose use a cotton cloth. Do not use solvents or acids.
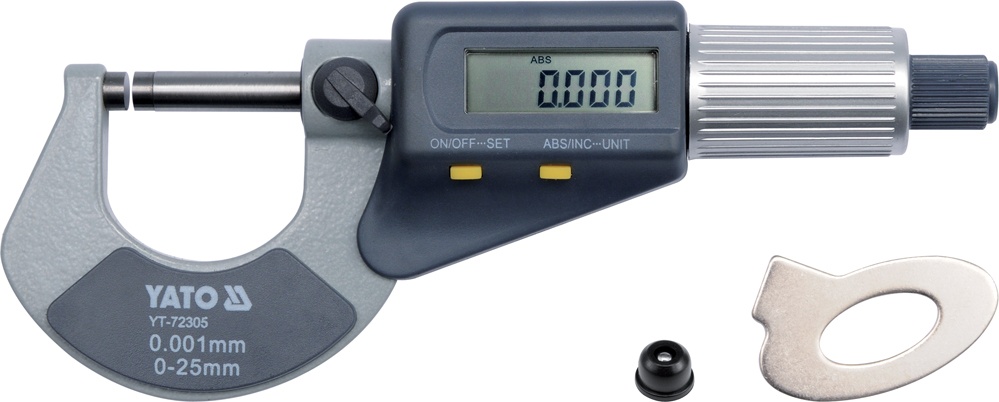
– Check the zero position for this purpose, touch the measuring surfaces by turning only the friction clutch knob. Then press and hold down the ON / OFF ••• SET button for about 2 seconds until the indicator is reset.
– Check that all buttons, switches and display are working properly.
Basic measurement methods:
1. Absolute measurement
– Loosen the retaining clamp.
-Enable the device by pressing the “ON” button. Select the measuring unit by pressing and holding the “ABS / INC ••• UNIT” button for about 2 seconds. Each time the measurement results will alternately appear in inches or millimeters. The inch score is described by the “in” symbol on the display screen.
Press the “ABS / INC ••• UNIT” button until the “ABS” symbol appears on the display.
– Move the measuring surfaces a little wider than the object being measured.
– Then, by turning the spindle knob, set roughly, then continue to tighten by turning the clutch knob. Stop tightening when the coupling works.
– Read the measurement result from the display.
2. Relative measurement
The principle of measurement corresponds to the above described, but relative measurement serves to compare two dimensions.
– When the “ABS / INC ••• UNIT” button is pressed, the indication will be reset and the display will show “INC”. After re-measuring, you can read the difference in dimensions.
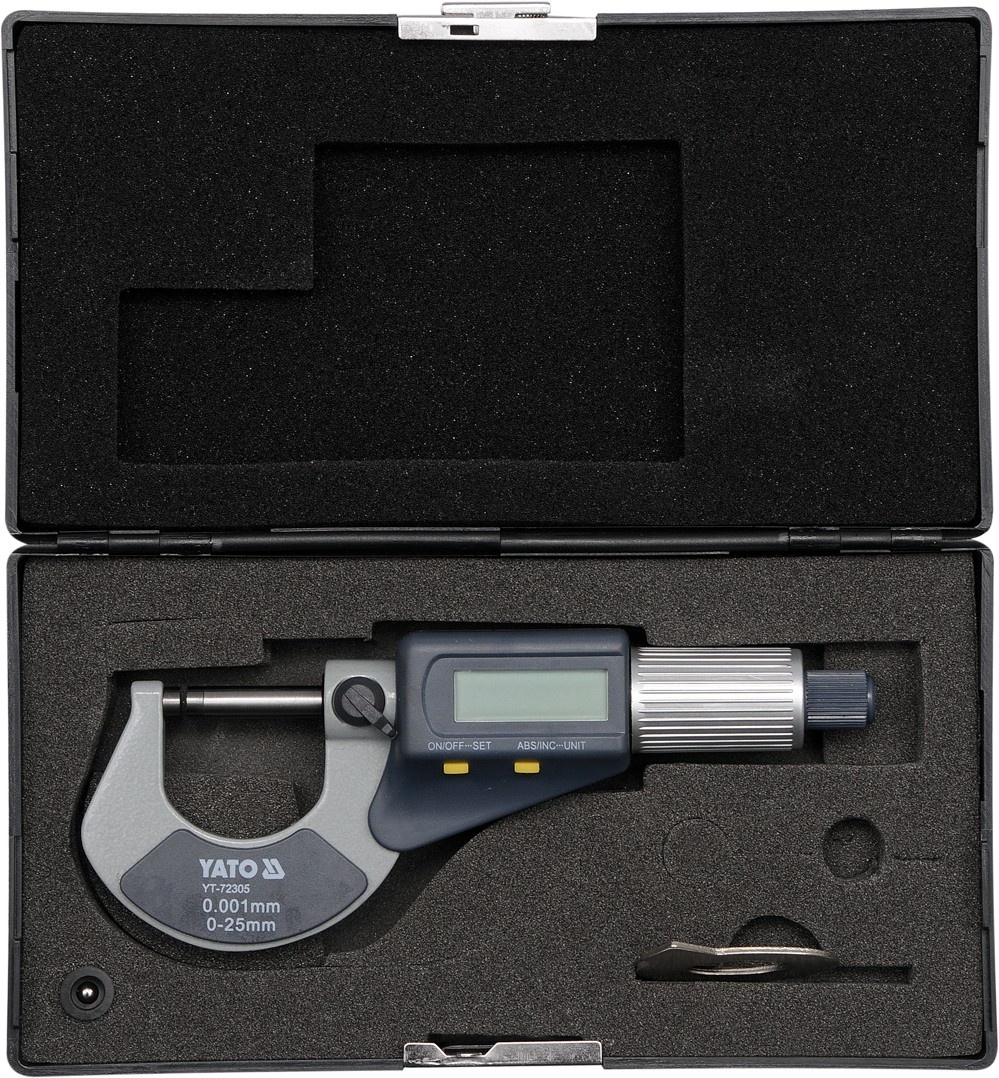
The micrometer is equipped with a steel ball in a rubber mount that allows mounting on the measuring surface of the micrometer. It facilitates the measurement of small surface elements. Once it has been set, reset the display according to the procedure described above.
Warning! It is recommended to mount the measured element or micrometer before starting the measurement. This will allow you to achieve the highest measurement accuracy. It is also recommended to perform several measurements to obtain the arithmetic mean of the results.
Technical data
Index number YT-72305
EAN 5906083723056
Mark Yato
Unit SZT
Gross Weight (kg) 0.4750
Master Carton MC 20
Pal 640
Material steel
Weight [g] 475


